Condo Family-room Ceiling Light
When we added more space to the condo the dining room including the ceiling light moved to the new space. The old dining room became a family-room and needed a new light. I decided to design and build a new light mirroring the oblong shape of the room. This post captures some of the steps in building a shade with many faces, as well as (since Pam was around taking many pictures), some of the steps common to most projects
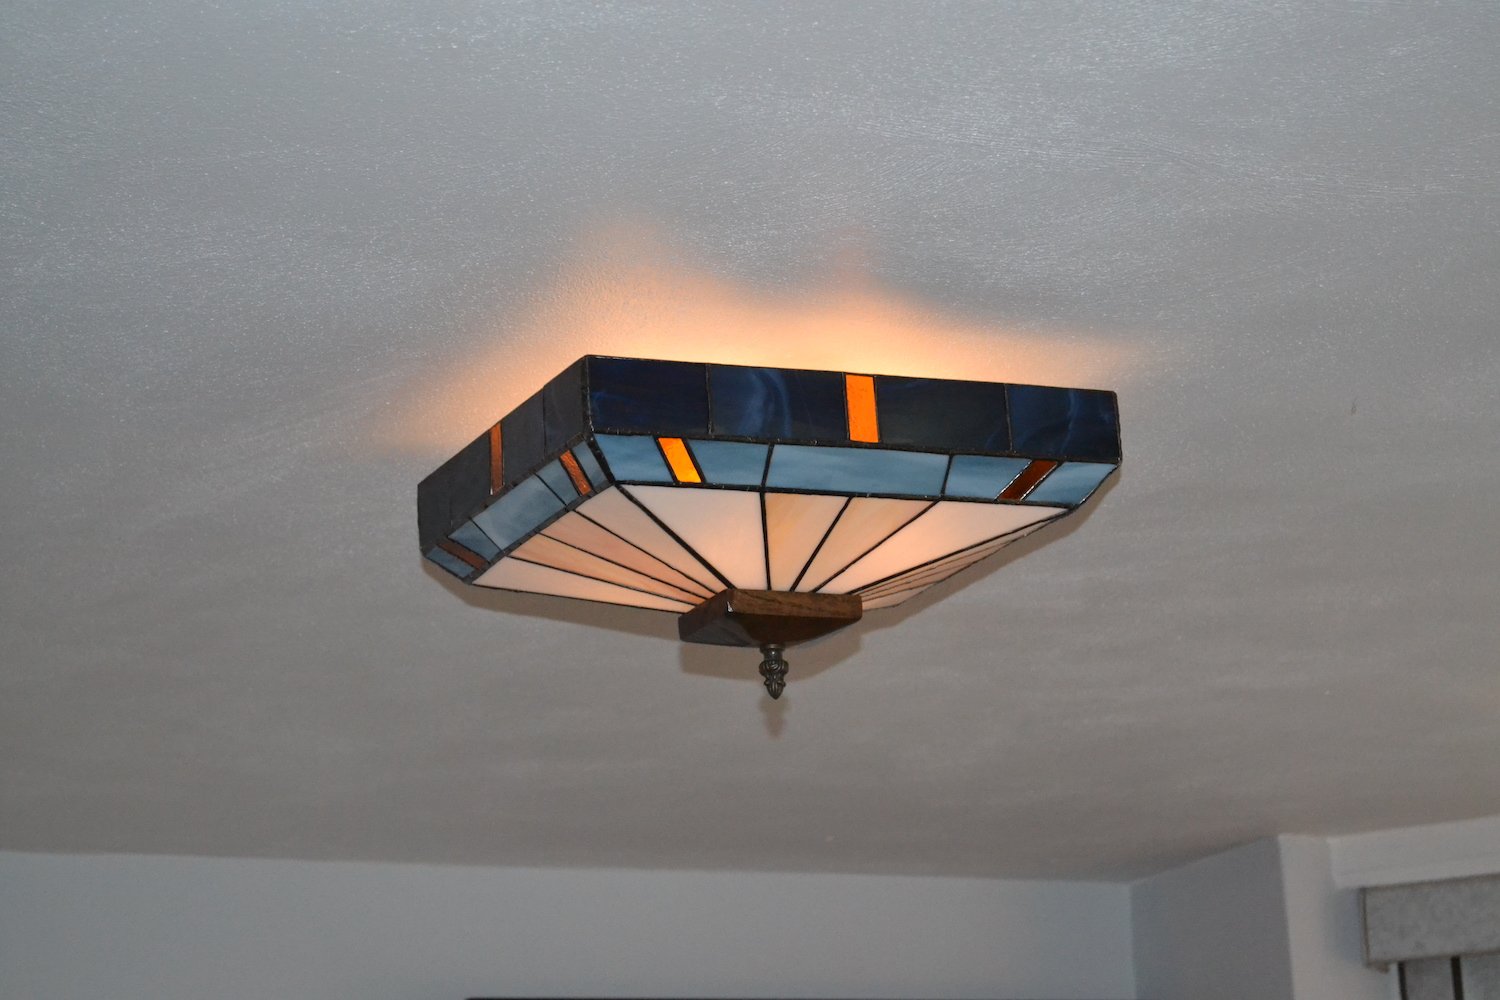
The finished product so you know where we are headed.
The first step was to solder up four panels and then assemble them into the the shallow truncated pyramid seen here. It seems like each assembly requires a slightly different set of clamps and fixtures to hold everything in place as the panels are tacked together.
The initial four panels being tacked together.
After the panels are tacked together they need a nice bead of solder down the entire length of the joint. To achieve this the entire work surface is tilted to get the seam level.
Soldering the seams.
The next steps involved soldering up the 4 panels that formed the next faces of the shade (note another face laying to the left). Each face was then tacked to the corresponding shallow face of the original pyramid from the inside and then the corners were tack soldered and eventually a nice bead was soldered.
Tack soldering the second faces to the first faces.
I built a simple jig to lift the first two assembled faces off the work surface. The final faces had been assembled into panels which were fitted underneath and tacked into the existing assembly. Each of these final faces were then tacked at the corners.
Very carefully tack soldering the verticle pieces to the main assembly.
The final beads of solder require the edges of the shade to be held level. This involved holding the shade on my lap at several different angles to do the finish soldering.
Running the final beads.
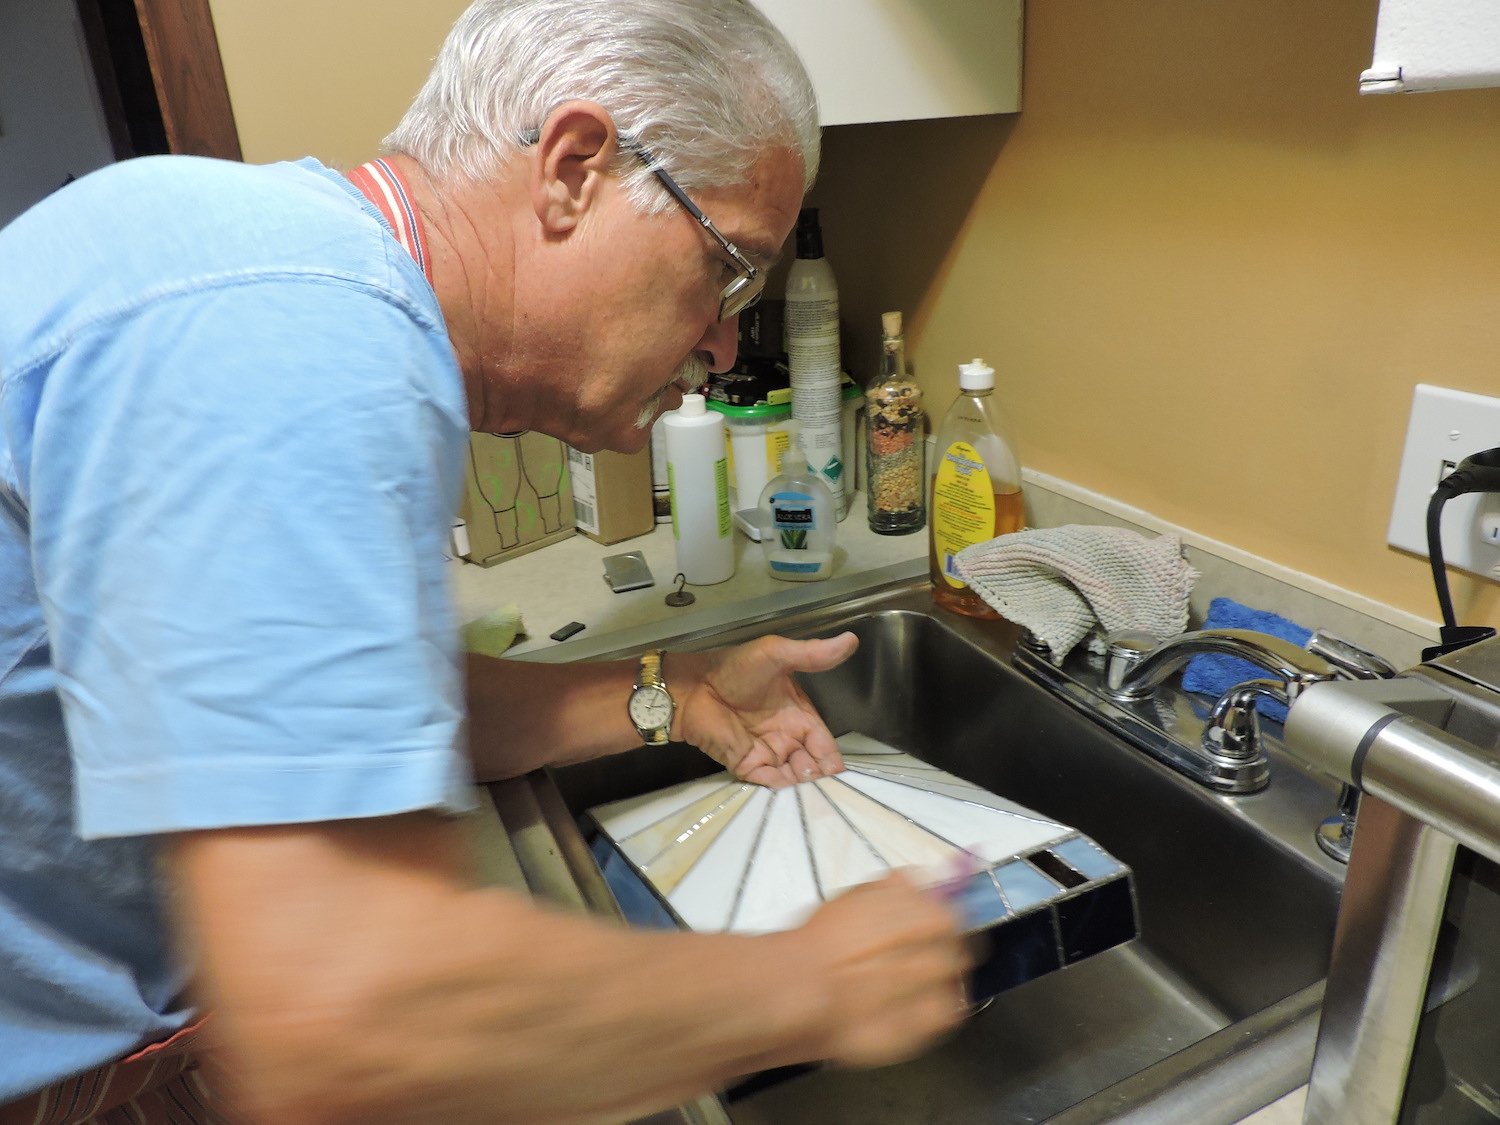
After all the soldering is finished the project is thoroughly washed to remove all the residual solder flux.
Washing the flux off in the pantry sink.
After washing off all the solder flux and letting the shade dry it was time to apply a black patina to all the solder joints and edges. Then all the residual patina was scrubbed off with paper towels.
Applying patina to the finished shade.
With the glass finished I attached a wooden vase cap I had made to support the glass shade from the bottom. To make the installation easier a piece of quarter inch plywood was screwed into the vase cap from the top (inside) to hold it to the glass during assembly. Because of the large size of the room and the finished shade I installed a four lamp cluster.
Installing the electrical and the four lamp cluster.
With everything ready it was finally time to mount the shade.
Shade being mounted to the ceiling fixture.
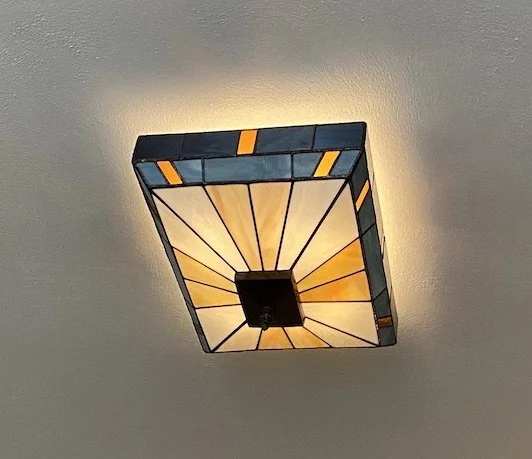
I’m happy to say the final project seemed to fit the space and the color scheme as planned.
Lamp installed and viewed from below.


